Air Sealing Dropped Soffits and Bulkheads
Here is something that surprises almost every homeowner we work with: that lowered ceiling above your kitchen cabinets is probably connected directly to your attic. No insulation. No air barrier. Just an open chase running from the warm interior of your house straight up into unconditioned attic space.
We were in a Gorham Cape Cod last spring, doing an attic assessment before an insulation job. The homeowner was frustrated because her kitchen was always the coldest room in the house, even though it was in the center of the first floor with no exterior walls. Her heating contractor had told her the kitchen was just "far from the boiler." That did not make sense to us.
When we got into the attic and pulled back the old insulation above the kitchen, we found the answer. The kitchen had been remodeled in the 1990's with a dropped soffit running the full length of the room above the cabinets. From the kitchen, it looked like a normal lowered ceiling - a decorative feature that gave the cabinets a built-in look.
From the attic, it looked like an open-topped box. No drywall cap. No blocking. No air barrier of any kind. Warm kitchen air rose straight up through the soffit cavity and into the attic, and cold attic air dropped down to replace it. The kitchen was cold because it had an uninsulated, unsealed connection to the outdoors running its entire length.
What Are Dropped Soffits and Bulkheads
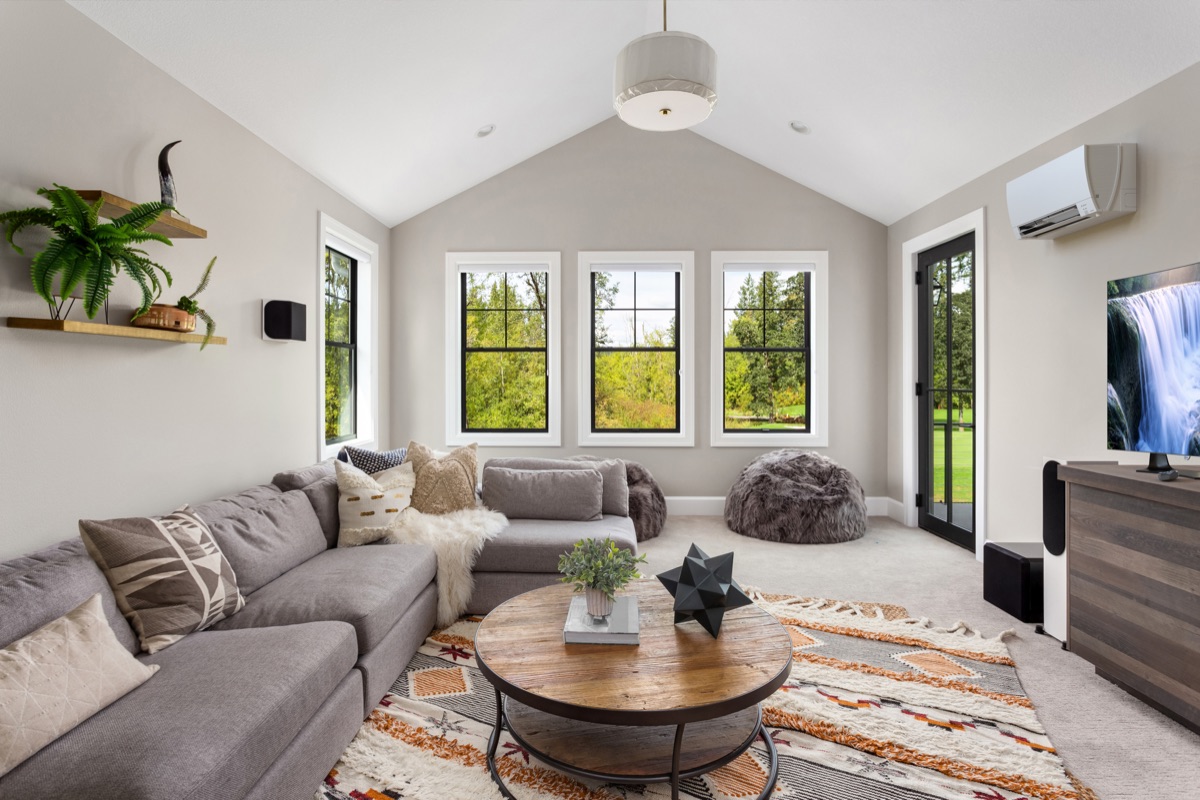
A dropped soffit is a section of ceiling that has been lowered below the main ceiling plane. They are common in kitchens (above cabinets), bathrooms (above vanities), hallways, and stairwells. Builders use them to conceal ductwork, plumbing, or wiring, or simply as a design element.
A bulkhead is essentially the same thing - a boxed-out section of ceiling or wall that encloses something (usually ductwork or a chimney chase) or bridges a transition between ceiling heights.
From the living space, these look like normal architectural features. You may not even notice them. But from the attic side, the story is completely different.
How they are built
In most homes built from the 1950's through the 1990's, dropped soffits were framed with 2x4s or 2x2s, covered with drywall on the sides and bottom, but left open at the top. The builder framed the soffit, finished the visible surfaces, and never thought about what was happening above the ceiling line.
The result is an open-topped box that connects the interior of your home to the attic. Warm, moist interior air flows freely up through the soffit cavity and into the attic. In winter, the reverse can happen too - cold attic air settles down through the cavity into the living space.
Where to find them
Walk through your home and look for any section of ceiling that is lower than the surrounding ceiling:
- Kitchen: Above the upper cabinets, especially in U-shaped or L-shaped kitchen layouts. This is the most common location
- Bathrooms: Above vanities and around exhaust fan enclosures
- Hallways: Where the ceiling drops to create a transition between rooms
- Stairwells: Above closets adjacent to stairs, or where the stair framing creates a stepped ceiling
- Tray ceilings: Where a raised center section creates a perimeter soffit
- Mechanical chases: Vertical boxes that run from the basement to the attic enclosing plumbing stacks, chimneys, or duct runs
Any of these could be an unsealed connection to the attic.
Why This Matters So Much
Dropped soffits are not small air leaks. They are large, open cavities that can move substantial volumes of air. A kitchen soffit that runs 12 feet long and 2 feet wide creates a 24-square-foot opening to the attic when the top is left unblocked. That is larger than a whole-house fan opening.
The air leakage through dropped soffits has two effects:
Direct heat loss. Warm air from the kitchen, bathroom, or hallway rises through the soffit cavity into the attic and eventually exits through the attic vents. This is conditioned air you paid to heat, leaving the building through a pathway you did not know existed.
Moisture problems. That warm air carries moisture. When it hits the cold attic air and the cold underside of the roof sheathing, the moisture condenses. Over years, this creates conditions for mold growth, rotted roof sheathing, and degraded insulation performance. We have seen severe moisture damage in attics that was traced directly to a single large dropped soffit that had been leaking warm, humid kitchen air for decades.
Ice dams. Heat rising through soffit chases warms the roof deck unevenly, contributing to snow melt patterns that create ice dams at the eaves. Homeowners with persistent ice dam problems sometimes discover that a dropped soffit is the primary heat source warming the roof.
Step 1: Find the Soffits from the Attic
The first step is to identify every dropped soffit and bulkhead from the attic side. This requires attic access and some careful exploration.
Go into the attic with a flashlight and a sketch of your floor plan below. Move carefully on the ceiling joists (do not step on the drywall between joists - it will not hold your weight).
Look for:
- Open-topped boxes or channels where the attic floor drops away. These are the soffits. They may be partially buried in insulation, making them hard to spot.
- Areas where insulation has been displaced or is discolored. Air movement through soffits pushes insulation aside and stains it with dust.
- Warm spots in winter. If you are in the attic on a cold day, you may feel warm air rising from an unsealed soffit.
Mark each one. In a typical Maine home from the 1960's through the 1980's, we find anywhere from one to six separate dropped soffits or bulkheads that need attention.
Step 2: Choose Your Blocking Material
The goal is to create an airtight cap over the top of each soffit chase. Several materials work:
Rigid foam board (polyiso)
This is the most common approach for smaller soffits. Cut pieces of 1-inch or 2-inch polyiso foam board to fit over the top of the soffit opening. The foam is lightweight, easy to cut with a utility knife, and provides some insulation value (R-6.5 per inch for polyiso).
Plywood or OSB
For larger openings or soffits that need to support insulation on top, 1/2-inch plywood or OSB provides a solid, durable cap. It is heavier to work with in the attic but creates a sturdy platform.
Drywall
Some contractors use drywall scraps to cap soffits. It works, but it is fragile and heavy. Rigid foam or plywood is generally a better choice in attic conditions.
Sheet metal
For soffits near heat sources (chimneys, flue pipes, recessed lights rated IC), use sheet metal flashing. Building codes require non-combustible materials within certain clearances of heat sources.
Step 3: Install the Blocking
For each soffit or bulkhead chase:
Measure the opening. The cap needs to be large enough to overlap the framing on all sides by at least 1 inch.
Cut the blocking material. For rigid foam, use a utility knife and straightedge. For plywood, a circular saw or jigsaw.
Set the cap in place. Rest it on the framing members that define the top of the soffit chase. It should sit flat and cover the entire opening.
Seal every edge. This is the critical step. Apply a continuous bead of fire-rated caulk, construction adhesive, or canned spray foam around the entire perimeter where the cap meets the framing. Fill any gaps, cracks, or holes. The goal is a completely airtight seal - not just a physical cover, but an air barrier.
Seal any penetrations. If wires, pipes, or ducts pass through the soffit cap, seal around them with caulk or foam appropriate for the material (fire-rated for anything near heat sources).
Step 4: Insulate on Top
Once the blocking is sealed, the soffit cap becomes part of the attic floor air barrier. It needs insulation on top, just like the rest of the attic floor.
If the attic is getting blown-in cellulose insulation, the caps will be buried under the insulation to the same depth as the rest of the attic (R-49 to R-60 in Maine). Make sure the caps are sturdy enough to support the weight of the insulation on top.
If you are not insulating the full attic, stack rigid foam on top of the caps to at least R-30, or lay unfaced cellulose or mineral wool batts over them.
Step 5: Verify the Seal
After blocking and sealing all soffits, a blower door test confirms the results. With the blower door depressurizing the house, walk through the attic and check each cap for air movement. A smoke pencil or your bare hand held near the sealed edges will reveal any spots that need additional sealant.
In homes with multiple dropped soffits, we typically see significant reductions in total house air leakage after this work is complete. One Gorham project with three large soffits (kitchen, two bathrooms) showed a 22% reduction in air leakage from soffit blocking alone.
Finding Them During an Assessment
One of the reasons we check the attic early in every home energy assessment is specifically to find these hidden air pathways. Dropped soffits are not visible from inside the house - they look like normal architectural features. The only way to know whether they are sealed or open is to look from the attic side.
During our walkthrough, we map every soffit, bulkhead, and chase in the attic. We check whether each one is blocked and sealed, note its size, and estimate the air leakage contribution. This goes into the overall assessment of the home's building envelope.
Many homeowners are genuinely surprised when we show them photographs of their open-topped kitchen soffit from the attic. It is one of those things you would never think to look for, but once you see it, the connection between the cold kitchen and the open attic chase is obvious.
Cost and Impact
Blocking and sealing dropped soffits is relatively inexpensive in materials - rigid foam, caulk, and canned foam. For a home with 2-4 soffits, materials typically run $50-$150. The labor is where the cost lies, because attic work is physically demanding and requires care around existing wiring and framing.
As part of a comprehensive attic air sealing project with Horizon Homes, soffit blocking is included in the overall scope. Efficiency Maine rebates can offset a significant portion of the total project cost when air sealing and insulation are done together. Rebate amounts are income-dependent, so the actual credit varies by household.
The comfort impact is often immediate. Homeowners with cold kitchens, cold hallways, or unexplained ice dams frequently trace the problem back to unsealed soffits. Fixing them changes how the room feels, especially in winter.
Start with a Free Assessment
Dropped soffits are one of the most overlooked air leakage sources in Maine homes, and finding them requires getting into the attic. Our energy advisors know exactly where to look and what to look for. We have been doing this work across Greater Portland since 2006.
Schedule your free energy assessment and we will check every soffit, bulkhead, and chase in your attic. No pressure, no obligation - just a clear picture of where your home is losing energy.
Or call us at (207) 221-3221. We are always happy to talk through what you are seeing in your home.
Related Guides
Find our guides faster: add Horizon Homes as a preferred source on Google.
Free Home Energy Assessment
Ready to Lower Your Energy Bills?
We identify the improvements that will have the biggest impact on your home's energy use, with clear pricing and rebate estimates.
- Free walkthrough, no equipment, no disruption
- Rebates up to $18,100 identified for you
- Written improvement plan with pricing
Schedule Your Free Assessment
We call within 1 business day.